Sunday, 24 May 2015

Wraptastic


This one was originally going to use the same construction as NoCoBo and Supersymmetry, but I soon realised that wouldn't work.

So I tried a triangle shape:


I quite liked that so started another one - only this time I forgot to weigh the yarn before starting and ended up miscalculating and fudging the shape:

 
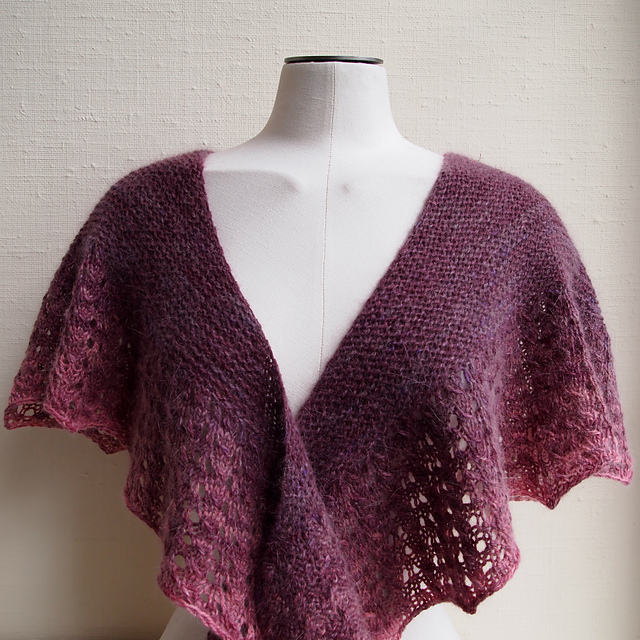
But it turned out to be a happy accident because I realised I liked the rounded shape better than the triangle and decided to try to explore that a bit more and then made this one - which I really liked and which is the shape I used for the pattern - it still has all the advantages of  no-cast on and no bind-off:


Supersymmetry


This one uses the same construction as my original No Cast On - No Bind Off shawl pattern (NoCoBo - click on the link to find out more about the pattern on ravelry), but is even easier to make because much of it is worked in stockinette.

It's also completely reversible - hence the name:


Sunday, 23 November 2014

Quilt stitch

When working a quilt stitch you will have long strands running across the RS of your work (your pattern will explain how these are formed).

To workt the quilt stitch:

Start by inserting the RH needle under the long strand:


Then insert the RH needle into the first stitch on the LH needle:


Now knit as if this were just a regular knit stitch, but pulling the yarn loop up through both stitches:


Slip both loops off the LH needle so that you have a new knit stitch on the RH needle and the strand is now behind your work and forming a V-shape.


No-sew picot edge

Can be worked flat or in the round.

Start with a provisional cast-on (black stitches at the base) and an even number of stitches.

Work some rows of stockinette (usually 3-4, but check your pattern).

For the picot break-line work [k2tog, yo] to the end of the row.

Then work the same number of stockinette rows as you did before the break-line.


To join the edges, start by removing the provisional cast-on and placing the cast-on edge stitches on a 2nd needle (same size or one size smaller).


Fold up the bottom edge so that the cast-on stitches are behind the active stitches.


Work the "joining row" by working k2tog - each k2tog is formed of one stitch from the front needle and one from the back needle:


Work to the end of the row - you should have the same number of stitches as the original cast-on.

Wednesday, 20 August 2014

Check it ! or fix it ..... ☺


Here's a little reminder of why we need to stop to admire our knitting from time to time.

And what to do when we forget !

Generally I try to stop and check the fabric of my knits about every 10-12 rows (unless it's the type of stitch where you will notice right away if you've made a mistake).

but I was enjoying knitting this so much I forgot ....

so just when I was about ready to bind-off I stopped to take a look and spotted this !!! (just above the crochet hook) ....


I've never fixed a mistake so far back before, but thought it was worth a try before frogging back and reknitting.

And also a good opportunity to post about fixing mistakes !

So I dropped all the stitches back down to the mistake (gently - taking care not to stretch the threads while dropping the stitches)

Then I used the crochet hook to work back up

Here's a close-up of fixing a knit stitch - check that the yarn is coming from the stitch next to the one you are fixing, see left side:


hHre's a close-up of fixing a purl stitch - you have to reposition the hook so that you are coming up from behind :


And I'm happy to report that about 15 minutes later all was fixed,

Link to project page on ravelry (click on link if you want to see more)


Thursday, 8 August 2013

Quaker Yarn Stretcher

My latest pattern is the result of an experiment to see if I could make something scarf-sized with about 220m (245yds) of handspun yarn and use as much of the yarn as possible.  I'm happy to report that it worked.


This was the first one - made with a Gift of Grace handspun in colourway Boomerang, which is what got me trying this in the first place.


You can find the pattern on ravelry:
http://www.ravelry.com/patterns/library/quaker-yarn-stretcher


Then I wanted to try it again - and again....

I have made four so far and they all ended up about 150cm (5') long - which isn't huge, but is long enough to wear as a scarf.


You can drape lots of different ways.

I like the thicker end down the front and the skinny end at the back - like this - see the dark shape on the right side, that’s to show that there is as much length down the back as at the front (no cheating to make it look bigger ☺):
Silk Quaker ( #4 )
This shows the other side - more ridges, less stockinette - with some yarns this side may be more interesting. The way the edges are worked will make it reversible:
Silk Quaker ( #4 )
This one shows the skinny end in front - you get a lot more coverage in the front if you wear it this way (good for windy winter days):
Silk Quaker ( #4 )
It’s actually long enough to wrap around and leave the ends down in front (or you could tie them if you wanted):
Silk Quaker ( #4 )
An overall shot:
Silk Quaker ( #4 )
And one more to show off the colours and sheen - the yarn is fabulous !! It's Lady Godiva by Handmaiden.
Silk Quaker ( #4 )

Saturday, 1 June 2013

A plan starts to take shape

I've been planning to make something with this stitch for a while.

I decided I wanted it in the shades of fall in Ontario, so I ordered some orange yarns.

When they arrived I thought I'd try this one and I'm pleased to report it's exactly what I had in mind.

I love when the idea's no longer just a floating in your head, but has actually been knitted up - next step, the pattern. ☺


Monday, 13 May 2013

A rare event

Not the wisteria flowering - you get that every year.

A rectangular scarf knitted by me only appears about every 2-3 years.


But that may be about to change.....


A lot of the people I'd like to knit for would like rectangles, but I don't like making classic rectangles because of the way the weight of the scarf pulls down on the needle; I tried knitting lengthwise, but I didn't like the big long cast-on, but now I may have the answer.

Knitting them on bias.....

More comfortable to hold, less turning, but no long cast-on.

So,  who knows, there may even be another rectangle scarf before we see the wisteria again...

Sunday, 5 May 2013

Edging options

Two finishes for a neat edge which helps to counteract rolling:

Crocheted bind-off - no crocheting skills required, but you will need a hook:

Transfer the first stitch to your crochet hook (1 st. on the hook)

1. use the hook to pull up a loop through the 2nd stitch (2 sts. on the hook)

2. use the hook to pull another loop through the 2 stitches (1 st. on the hook)

Repeat steps 1 + 2 until you have no stitches left.

Cut the yarn leaving a tail.
Put the end through the last loop to secure.

Edging - you can use the same technique to work a border along a side edge or a cast-off edge.

In Step #1 insert the needle through the stitches at the edge and pull up a loop.  The rest is exactly the same.

I-cord bind-off

Most instructions for i-cord bind-off tell you to transfer the stitches back to the left needle.

I find it's much better to use 2 double pointed needles (dpn's) and slide the stitches along.

This reduces the risk of:

  • dropping a stitch
  • stretching the stitches
  • splitting the stitches

Start by casting on 3 or 4 stitches on one of the dpn's.


1st row:

a) k2 (or 3)


b) slip the next stitch purlwise


c) slip the first stitch to be cast off knitwise (kw)


Transfer the last 2 stitches back to the left hand needle.
d) k2tog tbl (knit 2 together through the back loop)


e) slip the next stitch knitwise (as you did in step c)

f) slide the stitches along the dpn so that you start the next row at the opposite end (the one furthest away from the stitches you are binding off). Use the other dpn for the next row.


All other rows:

  1. k2 ( or 3) (as in step a)
  2. k2tog tbl (step d)
  3. slip 1 knitwise (step c)
  4. slide the stitches along the dpn and start the next row with the other dpn (step f)
Repeat until you have no stitches left, then bind off.


Edging (attached i-cord) - basically the same, but instead of using live stitches in Step #3, you pick up new stiches by inserting the needle along the edge and pulling up a loop to create a new stitch. Then continue with Step #4.


Monday, 6 August 2012

Just Knit It

During the 2012 events (Olympics and Ravellenic Games) I have been knitting up some quick relaxing knits using my Just Knit It pattern.

Here are a couple; you can find more examples over on the ravelry pattern page (click on the link - if but you'll have to sign in on ravelry to see them).


Colour combinations

I just love when I find two yarns that go together to make a great knit.

These are some of the ones I have waiting to be knitted up:


Saturday, 31 March 2012

Dip dye

Apparently this is the latest thing.

For hair:


And maybe for knitting too ?


(click to go to the project page on ravelry)

Beautiful Cobweb


Another recent pattern (click here to go to the ravelry pattern page).

This one seemed to have a mind of its own. I set off with a vague plan to make "something fluffy" and a day later this was finished. It was not at all what I had originally had in mind, but I liked it and so wrote it up.

Simply seashells


Same colours as in the garden in this shawl:


(click on the name to go to the pattern page on ravelry)

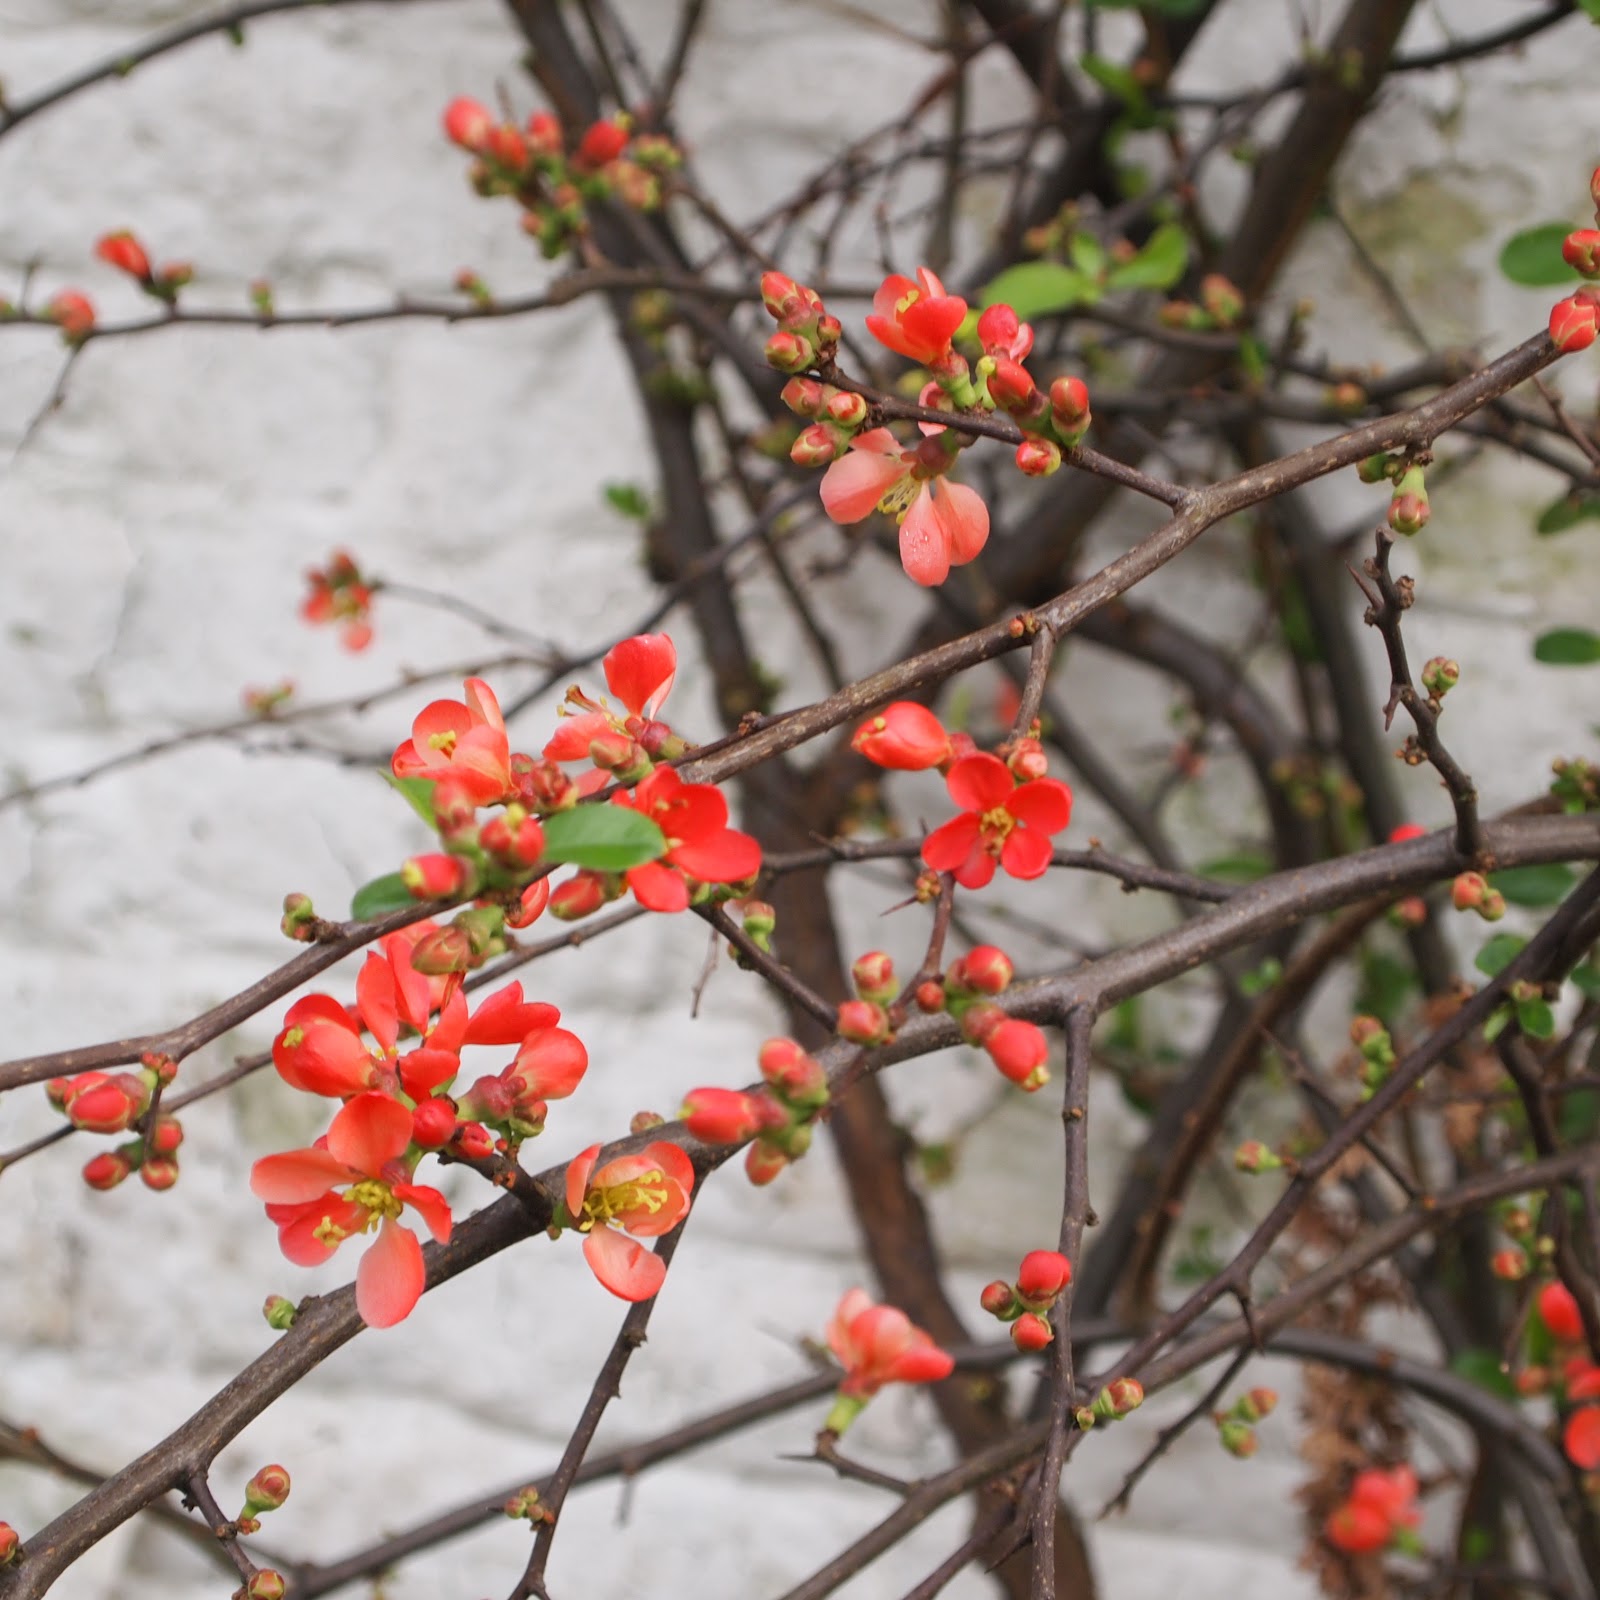
First signs of spring

In the garden today:


Wednesday, 11 January 2012

And another subtle thing!

Here's my second subtle knit - waves cowl in Rowan Colourscape (Kaffe Fassett colour range).

Friday, 6 January 2012

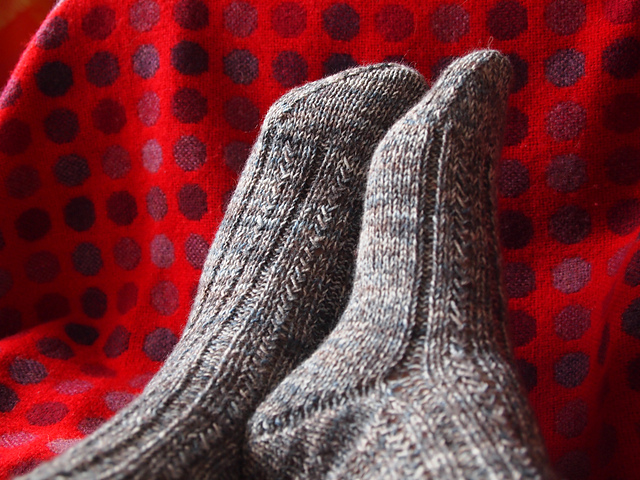
Dad's socks

Ready to send.

First 2012 challenge achieved - make something subtle.

I hope he likes them.